
Emma asked me several months ago to post about the doll I made N. for Christmas. I managed to remember to take photos of most steps, so here they are!
First of all, I bought this pattern from Fern and Faerie: http://hyenacart.com/FernandFaerie/index.php?c=11&p=23
This doll is basic enough that a more experienced sewer could easily do it without a pattern, but since I hadn't touched my sewing machine in over a year (and then only to hem maternity pants!) it was a must-buy.
First step: form the head. I stuffed tubular stockinette with wool then tied the eyeline and vertical strings. The head came out a bit smaller than I wanted, but I've since modified my method of stuffing and my second doll is much better!

Next I used peach cotton-interlock for the outer head and embroidered the eyes and mouth (this required dollmaking needles).

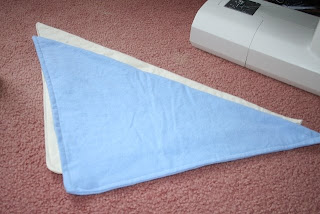
After that it was on to the body. Although the pattern called for print and solid flannels, I used two solids.

Once the two body pieces were done, I attached the head. This was the toughest part. I need to work on my ladder stitch to hide the stitches.

I made the hat, blanket stitched it on, and tied knots at the end of the hat, "arms," and "legs" and that's it! Most the project went very quickly. N. uses the doll for teething and sleeps with it each night.

As I mentioned previously, I'm working on another doll and I'll post a few pictures when that one is done too. This time, I'm embroidering the baby's name and birth date on the doll to make it even more special!
No comments:
Post a Comment