Saturday, April 9, 2011

Book Cooks, Week Six

For our final week of Book Cooks, we read The Doorbell Rang and If You Give a Mouse a Cookie and made cookie bars in a heart-shaped pan.

Outrageous Chocolate Chip Cookies

Beat until creamy:

1/2 cup sugar
1/3 cup brown sugar
1/2 cup butter
1/2 cup peanut butter
1/2 t vanilla
1 egg

Mix in:

1 cup all-purpose flour (or whole wheat pastry flour)
1/2 cup oats
1 t baking soda
1/4 t salt

Stir in:

6 oz chocolate chips

Cookies:

Drop by rounded tablespoons two inches apart onto ungreased cookie sheets. Bake 10-12 minutes at 350. Cool one minute before moving to cooling rack.

Cookie bars:

Spread dough in a greased 8x8x2 pan. Bake 25-30 minutes. Cut into 2x1 inch bars. Makes 36.

Friday, April 8, 2011

Everyday Bread

When I talk to people about baking bread, I often hear that they like homemade bread and like to bake, but can they really make bread for sandwiches? The bread they’ve tried doesn’t have a good shape or it’s too dry and crumbly. I’m here today to give you the perfect recipe for everyday bread. We make this two or three times a week and use it for all our “daily bread.” From PBJ to toast and grilled cheese, this bread does it all!

Now, if you have a breadmaker sitting on a shelf, dust it off. This recipe was originally designed for the breadmaker and is beyond easy! I’ve also adapted it, however, to be made by hand. I promise, this recipe is nearly indestructible. It can be adapted, shaped, dropped, forgotten, and it will still come out beautifully.

Country Buttermilk Bread

Ingredients:

1 cup + 2 T buttermilk (or make your own by adding 1 T lemon juice or vinegar to the milk)

3 1/4 cups flour (any combination of white/wheat will work)

1 tsp salt

3 T oil or butter

3 T honey or maple syrup

1/4 tsp baking soda

1 1/2 tsp yeast

Directions

If you’re using a breadmaker, add the ingredients in the order listed above then select the “white” setting on your machine. Done!

If you’re making this by hand or with a mixer, continue below:

1. Add all the ingredients to your mixing bowl in the order listed above.

2. If you are using a stand mixer, mix well and knead until the dough is smooth and forms a ball. If you are mixing by hand, mix until the ingredients are well combined then knead for 5-10 minutes until the dough is no longer sticky and will form a ball.

3. Lightly oil a bowl and set the bread to rise, turning once to lightly coat with oil.

4. Let the dough rise in a warm place for approximately 1-1.5 hours, until doubled.

5. Lightly oil a bread pan (8×4 works best), and form the dough into a loaf.

6. Let rise again for 40-45 minutes. During the last part of the rise, preheat your oven to 350.

7. Bake for 30-40 minutes, until the bread is nicely browned and sounds hollow when tapped.

8. Cool for several minutes then remove from loaf pan. You can cool completely, but this bread also tastes divine warm! This bread stores well in the refrigerator for five days or so (if it lasts that long).

If this is your first time baking bread, have confidence! This recipe is very forgiving, and truly very easy. You may have to adjust rising and baking times. Use your instincts and go for it!



Baking Bread at Home

Baking bread is one of the most important rhythms in our daily life. Even if everything else gets off track, the bread must be made! Baking bread, rather than buying, is both a frugal and healthful undertaking. It can be time consuming, however, and I also know some people are intimidated by the idea of baking bread or don’t have good recipes.

Over the next several posts, I’m going to be sharing several of my favorite recipes and techniques for baking bread and rolls. Once you step away from store-bought bread, it is very hard to go back!

This month I’m sharing several of my favorite recipes and techniques for basic bread, rolls, and even sweet bread! I’m featuring a mouth-watering biscuit recipe from a dear friend as well.

I would also like to hear from you. Do you bake bread at home? If so, care to share your favorite recipes? If you don’t bake, can I offer any support or encouragement?

Check back a little later today for a basic bread recipe that’s easy and delicious!


Saturday, April 2, 2011

Book Cooks, Week Five

This week we read Thunder Cake and made thunder cupcakes with chocolate butter frosting.

Recipe from Patricia Polacco's website (with several variations):

Pre-heat oven to 350 degrees.

Cream together one at a time:

1 cup shortening
1 3/4 cup sugar
1 teaspoon vanilla
3 eggs (you do not need to separate the eggs)
1 cup cold water
1/3 cup pureed tomatoes

Sift together:

21/2 cups cake flour
1/2 cup dry cocoa
11/2 teaspoons baking soda
1 teaspoon salt

Mix dry mixture into creamy mixture.

Bake in two greased and floured 8 1/2 inch pans at 350 degree for
35 to 40 minutes. (We made two dozen cupcakes and baked for 20-25 minutes.)

Frost with chocolate butter frosting. Top with
strawberries.

Little Boy Inspired Banner

We made a banner this week to decorate our playroom. While I was cruising the craft store for some pretty spring scrapbook paper, I found a pad of "All About Boys" paper instead (for 40% off!).


Each of the older boys picked paper they liked and helped to cut the triangles and punch holes then string them along the ribbon.


My husband helped hang it and now our playroom has a little spot of color! (It's a rather dark room even on bright days.)


Book Cooks, Week Four

Our co-op was canceled several weeks ago due to a bug that made its way through the group, affecting students and teachers alike. The following week, we read Jamberry and Bread and Jam for Frances and made butter and no-cook strawberry jam.

No-Cook Strawberry Jam

Ingredients

2 quarts strawberries
¼ cup lemon juice
1 cup light corn syrup
1 ¾ to 2 oz. package dry pectin
4 ½ cups sugar

Directions

1. Crush strawberries using either a potato masher or food processor. Place in a large bowl.
2. Add lemon juice and pectin and mix thoroughly. Continue mixing every five minutes for ½ hour in order to allow pectin to completely dissolve.
3. Add corn syrup and mix again.
4. Slowly add sugar and continue stirring well.
5. Refrigerate until ready to serve.

Butter

Ingredients/Equipment

Heavy cream
Jar with a lid

Directions

1. Fill jar half full of cream and screw the lids on tightly.

2. Shake the jar. After about several minutes, the cream will be whipped and after another minute or so, lumps of yellow butter will form.

3. Rinse off the liquid whey and add a little salt, if desired.

4. Spread on bread or biscuits and top with jam. Will keep in the fridge.


Friday, April 1, 2011

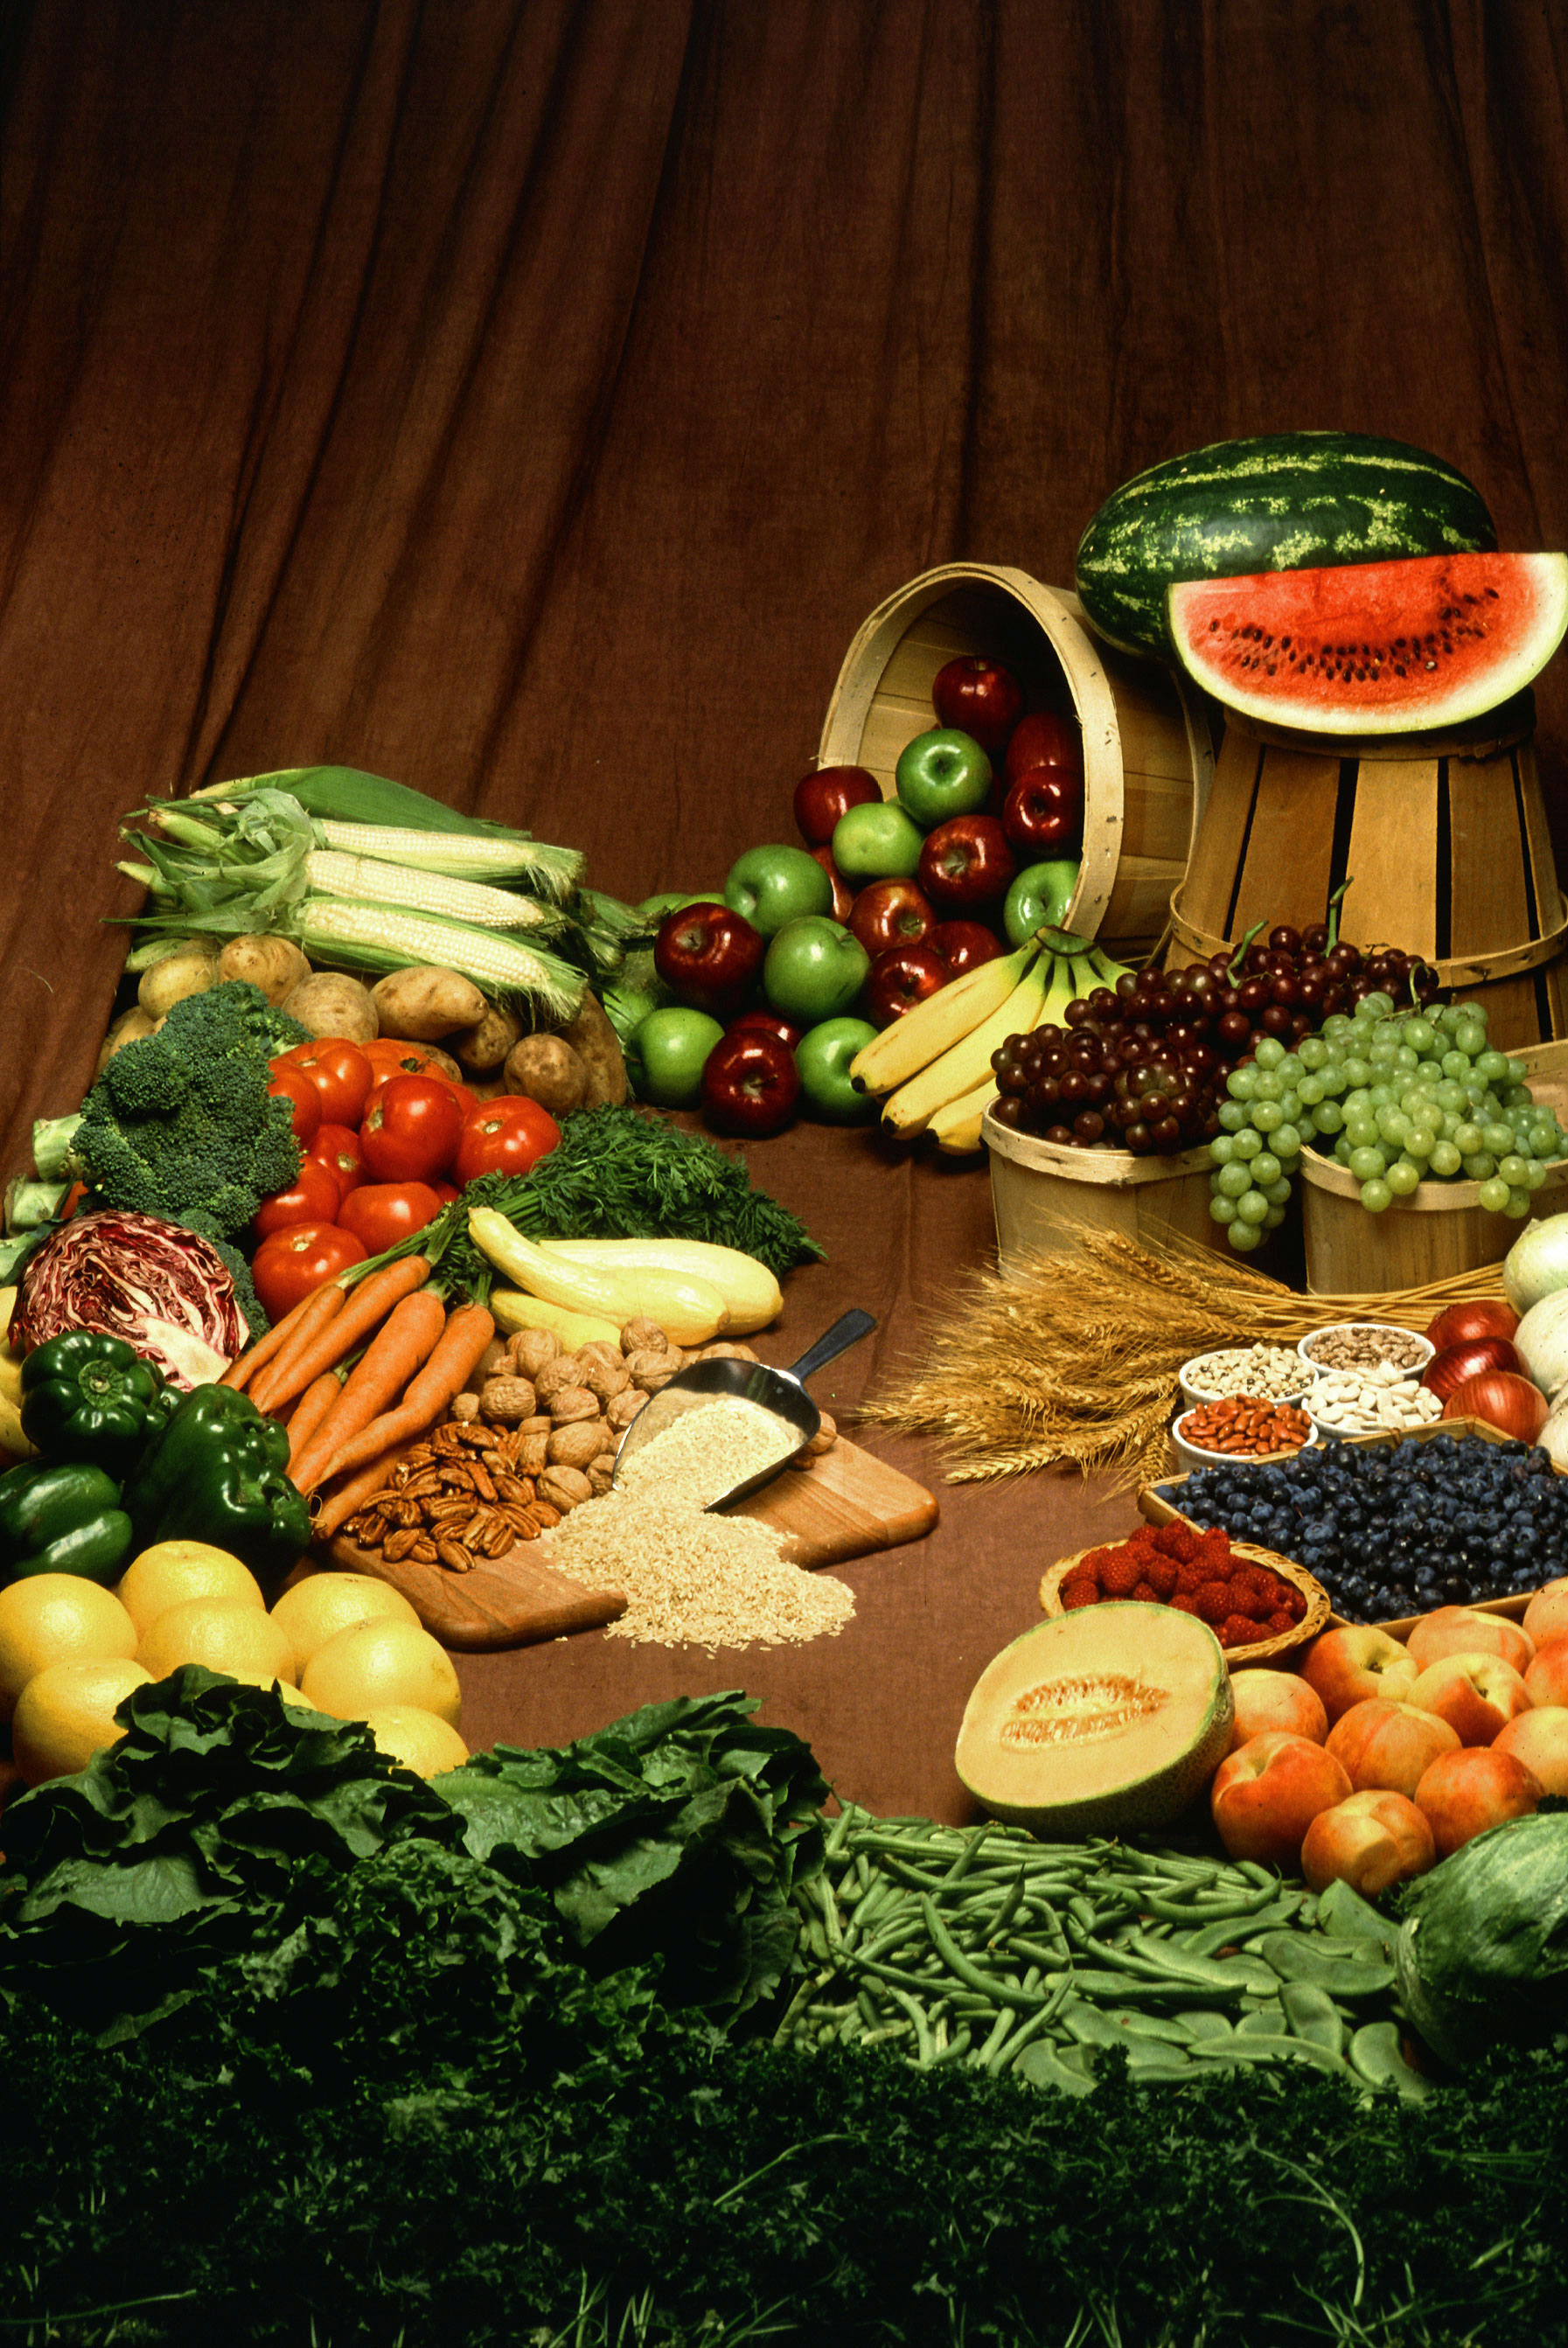
Food, Glorious Food

Food, glorious food!
We’re anxious to try it!
Three banquets a day,
Our favorite diet!

Ah, food. We must eat, yet it is a relationship fraught with strife.

What should we eat? How much? Calories, grams, protein, carbohydrates, fat! The cycle of plan, shop, cook, eat, clean, repeat. The mother’s battle cry of, “You’re hungry again?” The breakfast blues, the lunchtime laments, the supper slump, the snack time sighs.

Or maybe not. Maybe you are bursting with ideas and fresh menus. New ingredients tantalize you every time you set foot in the grocery store. You browse the cookbook section at the bookstore and comb through thrift shops for forgotten treasures. Breakfast is bliss, lunch lovely, supper supreme, and snacks sublime!

I think most of us fall somewhere in the middle. Midwinter blahs and late summer heat make us run screaming from the kitchen. Picky kids test our patience and our tried and true recipes are just…tired. New snack time creations are fun at first, but then apple slices and crackers rule the day.

I can’t promise to solve all your kitchen woes or to provide the connoisseurs among us with revolutionary ideas, but through my contributions to this site I do hope to provide some inspiration, fresh approaches, share my favorite resources, and commiseration too when the going gets tough.